How to setup Passwordless signin for Microsoft 365.
Security is critical our modern workplaces and two factor authentication is essential to the success and security of your business.
Removing the need for passwords enhances your security as reducing the number of times we type our password also reduces the risk of someone seeing it or phishing it or some malware keystroke logger collecting it…
Note: Passwordless Signin must be enabled by your IT Administrator.
The Microsoft Authenticator App is required for this to be successful and is FREE from your mobile device’s App store to use passwordless login, this is not unusual and most already have some sort of App…
Also, the Microsoft Authenticator App can be used with other logins where you use 2FA (such as FaceBook and more). This means you can consolidate your Google Authenticator and other 2FA Apps into the Microsoft Authenticator App if you wish to reduce the clutter of Apps on your device. Doing that will require you to setup your 2FA for those Apps again as you cannot copy them from other Apps into the Microsoft Authenticator App.
If you have difficulty with the steps outlined below then please ask your IT support for assistance.
Video: Using Microsoft 365 Passwordless Signin
This quick video shows how it works once setup and what to expect. (The next video shows how to setup your App).
Video: Setup Your Microsoft Authenticator for Passwordless
This quick video shows how to setup your Microsoft Authenticator App, this is essential to the success of Passwordless Signin.
The steps shown in this video are also shown below if you prefer to work this way or print it for later.
Setup your Microsoft Authenticator App, Step by Step…
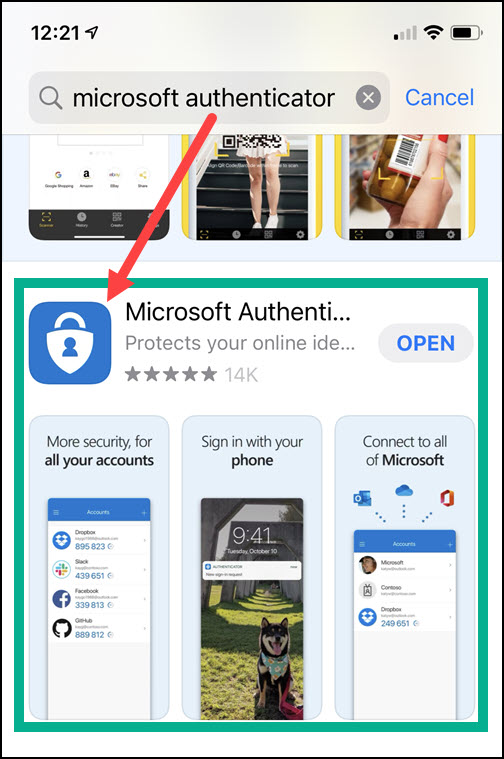
Look for the Microsoft Authenticator in your App Store or Play Store, it will appear like this. Install it when you locate it.
After installing the Microsoft Authenticator the Phone ICON will look like a white padlock on a blue tile as shown below.

We recommend placing the Microsoft Authenticator App somewhere handy like the front or second screen on your phone.
Your Microsoft Authenticator may request access to camera (for scanning QR codes) or to send push notifications. You should allow these to enhance functionallity and save you time.
Let’s get started…
My Sign-ins (Optional): This is normally already done for you when your account is created.
Your My Sign ins page (https://mysignins.microsoft.com/security-info) is where you can set your mobile number if your IT hasn’t already setup your mobile as your Authentication Method or update your mobile or authentication devices later if you get a new phone etc.
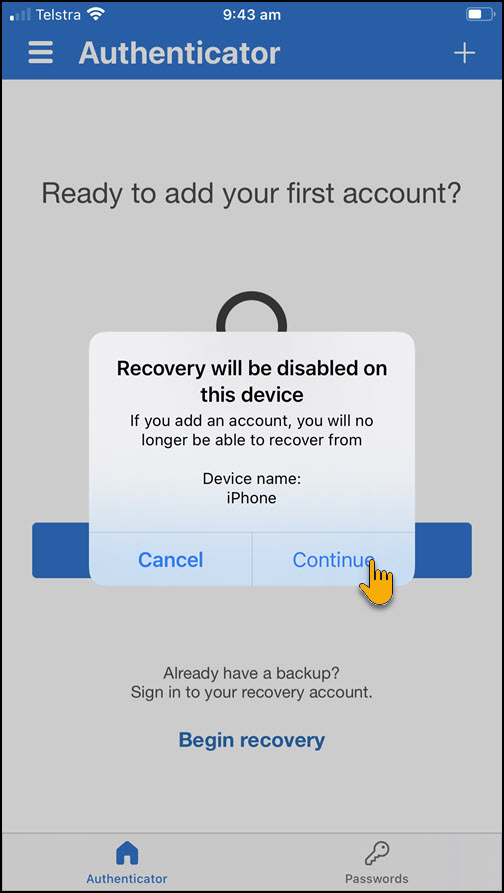
So to Start this process just open your Microsoft Authenticator and choose add account (we will choose a Work or School Account).

You may receive a warning that recovery will be disabled, you should not worry about this and should Continue to the next step.
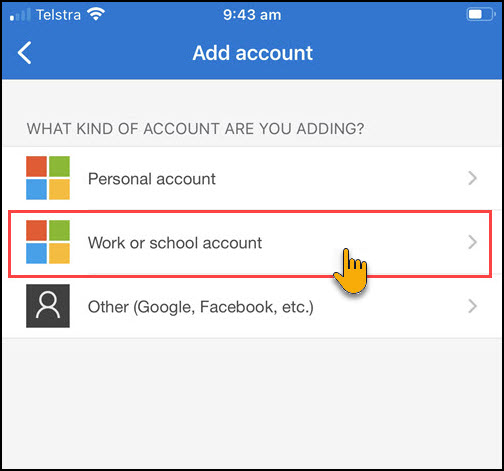
Now we choose a Work or school account
We are showing how to sign in here, the option to scan a QR code is discussed on another Older POST here
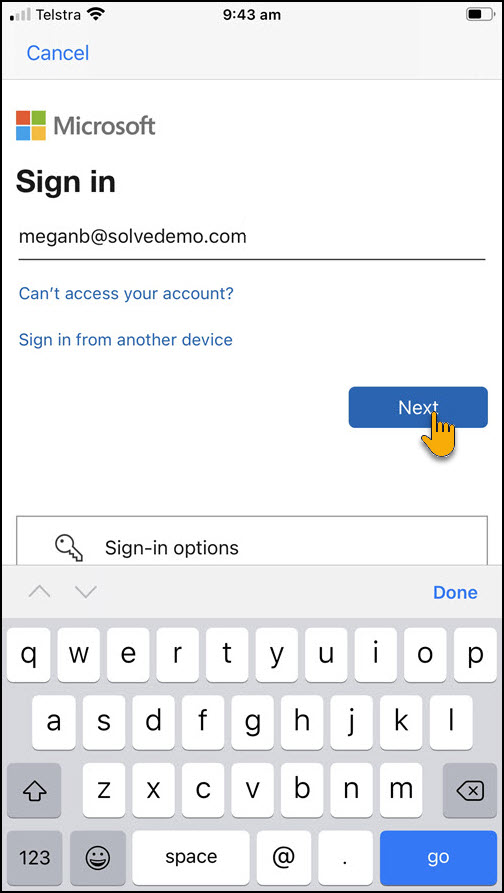
Click Sign in and then enter your work email account…

Note: There are two types of Microsoft Accounts: You should choose work or school account unless you are doing this for your personal or family systems.
Microsoft or Personal Account refers to any of these:
-
- Hotmail.com or Outlook.com free email accounts
- Microsoft 365 Personal or Microsoft 365 Personal Family
Work or school Accounts are those used at your workplace or educational instution such as University, College or High School.
Signing into the Microsoft Authenticator
Our example employee is Megan Bowen from our Solve Demo Microsoft 365 Organisation.
Megan is logging in with her Work or School Account because this is what she uses at work, you should also choose your Work or School Account.
Enter your work email address:
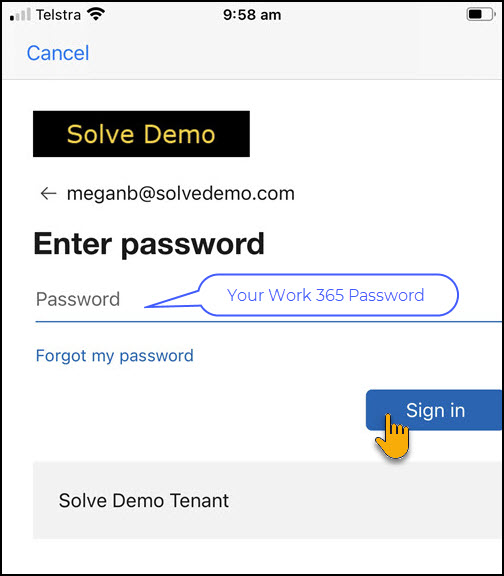
Enter your password:
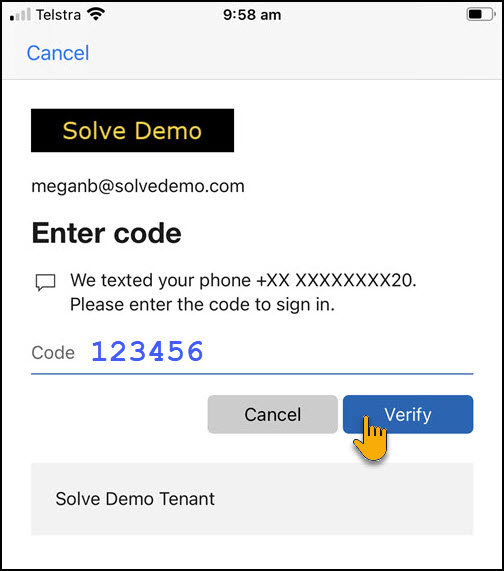
Now you will receive code via text message or maybe a push notice to approve your sign in.
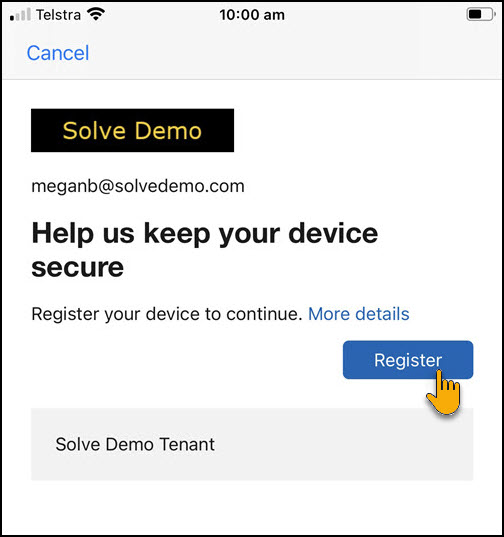
Registering your Device
Registering your device simply tells the system that the Microsoft Authenticator installed on your mobile device is to be associated to your Microsoft 365 account.
This is quite safe to proceed with and doesn’t expose your personal data to the Company.
Click Register
Click Finish and you will be done.
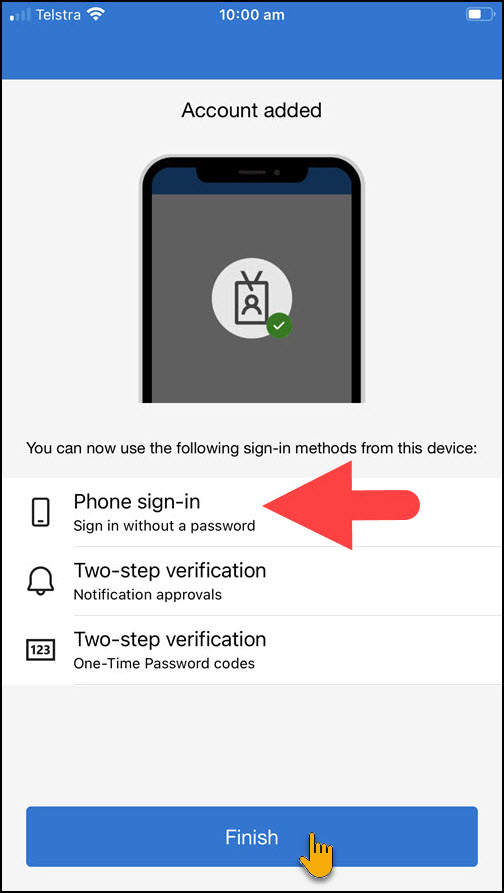
Done! – Your phone is now ready to sign in without a password
Let’s Review Megan’s setup…
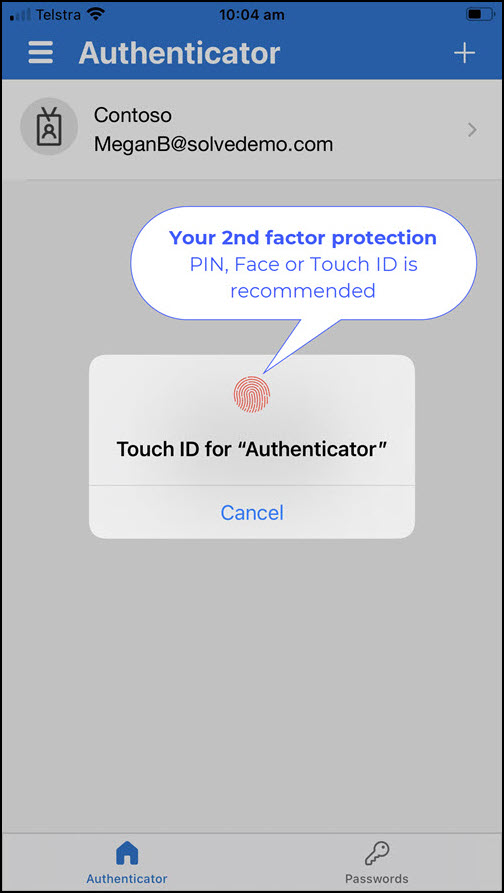
Here we see Megan’s Authenticator has her account shown.
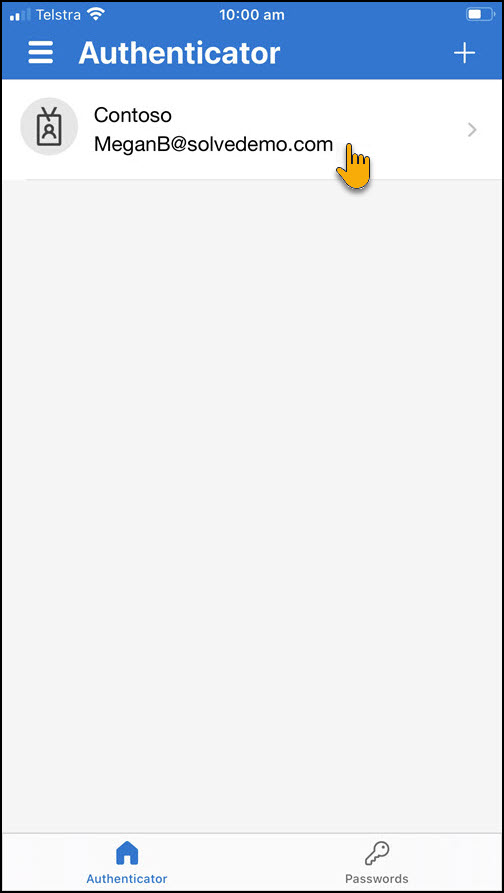
Clicking on Megan’s account we can see Megan has:
- Passwordless enabled
- One-time password code enabled
- the option to disable phone sign-in (means phone sign-in is enabled – this is expected and desired!).
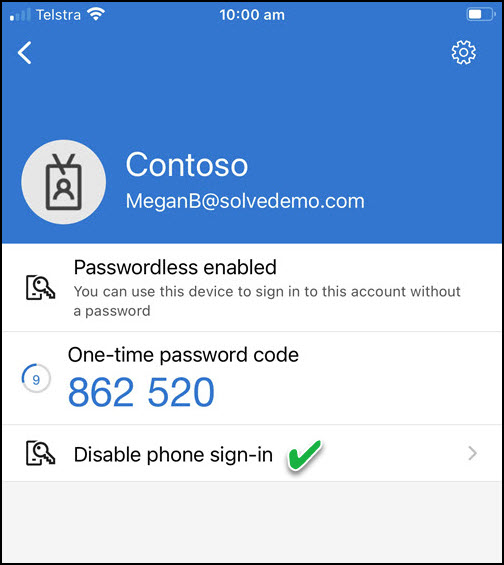
We DO NOT want to disable phone sign-in.
So now seeing it in Action!
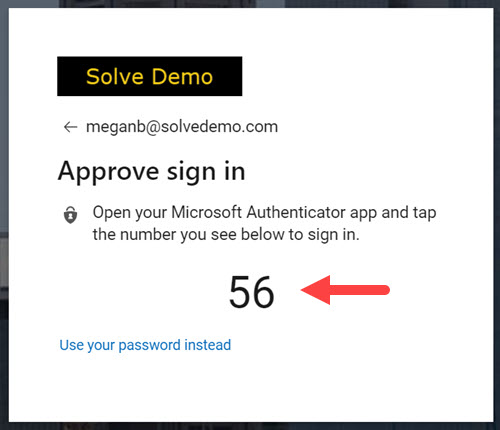
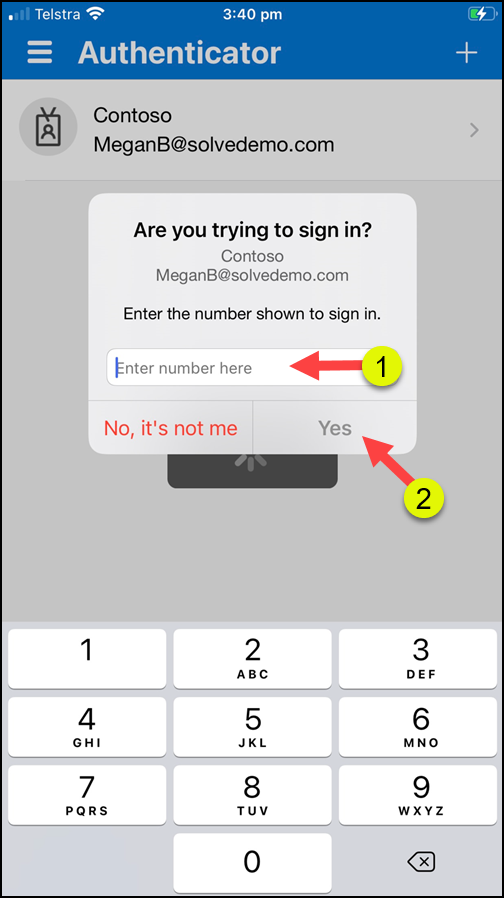
When signing in using Passwordless Megan is prompted to match a number shown on her screen with a number displayed on the mobile.
This is displayed on the computer (number will be different each time):
UPDATED PASSWORDLESS PROCESS
- Microsoft recently adjusted the Passwordless signin process to make it less likely that someone may approve a signin without really thinking about it.
- The old process simply meant tapping the one of 3 numbers shown on the mobile that matched the number on the screen… The improved process means typing in the number shown instead.
Under the new passwordless method Megan is shown a number on screen and is asked to enter the number shown on into the Authenticator, it’s still a really easy process.
After matching the numbers Megan is now required to do PIN, TouchID or FaceID to securely confirm her login.